Traveler using ai

AI Becomes a Key Tool for Travelers: 28% Use It to Organize Trips

Artificial intelligence (AI) isn’t just transforming workplaces—it’s also changing the way people plan their journeys. According to a recent Kaspersky study, nearly one in three travelers (28%) already rely on AI tools when organizing trips. An overwhelming majority of those travelers (96%) reported being satisfied with the experience, and 84% said they intend to continue using AI for future travel planning.

Growing Role of AI in Daily Life

AI has become a standard part of internet use, reshaping how people search for and verify information. Younger generations are the most active users: 88% of people under 35 reported having tried AI services, compared to 54% of those over 54. While research (76%), business tasks (45%), and learning (40%) remain the most common uses, travel planning is steadily gaining importance.

How Travelers Use AI in Planning

Among those who use AI to prepare for their trips, research remains the most frequent application:

  • Activities and events – 70% used AI to identify tours, attractions, or shopping options.
  • Accommodation – 66% relied on AI recommendations when choosing where to stay.
  • Restaurants – 60% requested lists of dining options.
  • Tickets and transport – 58% turned to AI for flight or transport searches.

Families with children were found to use AI more actively than travelers without children, suggesting the technology is particularly valued as a time-saving tool.

Booking with AI Services

While many travelers use AI for research, fewer rely on it for final reservations. The study found that:

  • 45% booked hotels through AI services,
  • 43% purchased tickets,
  • 38% reserved restaurants.

Notably, 45% of respondents reported turning to AI for visa and migration guidance. This raises potential concerns, as incorrect or incomplete advice could result in disrupted travel plans. A recent case involving an Australian writer who missed a conference in Chile due to incorrect AI-generated visa information underscores the risks.

Why Travelers Turn to AI

According to Kaspersky experts, the growing use of AI in travel planning reflects travelers’ preference for personalized, time-efficient solutions. While the technology can streamline research and decision-making, users are advised to critically evaluate the reliability of information before taking action.

Security Recommendations

To help travelers stay safe while using AI tools, Kaspersky recommends the following:

  • Double-check all AI-generated information before booking.
  • Confirm the authenticity of websites before making payments or reservations.
  • Use mobile internet options such as eSIM to stay connected abroad.
  • Always verify Wi-Fi networks, use a VPN, and avoid automatic connections to unknown hotspots.
  • Protect devices with strong passwords, avoid leaving them unattended in crowded areas, and install trusted cybersecurity solutions.
The study was conducted by Kaspersky’s market research team in partnership with Toluna during the summer of 2025. A total of 3,000 respondents from 15 countries took part, including Argentina, Chile, China, Germany, India, Indonesia, Italy, Malaysia, Mexico, Saudi Arabia, South Africa, Spain, Turkey, the United Kingdom, and the United Arab Emirates.

Screenshot from 2025-08-21 11-30-48

How to Change Your Password on Gmail

Your Gmail account is more than just email. It’s also the login for Google Drive, Photos, Calendar, and countless apps linked to your Google profile. Because it holds so much personal data, keeping your password secure is essential. If you suspect unusual activity, forgot your old password, or simply want to update it to something stronger, Google makes the process straightforward.

Steps to Change Your Gmail Password

Here’s the fastest way to update your Gmail password:

  1. Go to your Google Account: Visit myaccount.google.com
  2. Open Security Settings: In the left menu, select Security.
  3. Find Password Option: Scroll to “Signing in to Google.”
  4. Click Password: Google will ask you to verify your identity.
  5. Enter Your Current Password: Confirm that it’s really you.
  6. Create a New Password: Make it strong (at least 12 characters, with uppercase, lowercase, numbers, and symbols).
  7. Save Changes: Re-enter the new password to confirm.

Once updated, you’ll be logged out of most devices and will need to sign back in with your new credentials. This helps prevent unauthorized access.

What If You Forgot Your Gmail Password?

If you don’t remember your current password, you can still reset it. Here’s how:

  1. Go to the Google Account Recovery page
  2. Enter your Gmail address and click Next.
  3. Choose a recovery method (Google may send a verification code to your linked phone number or recovery email).
  4. Enter the code you receive.
  5. Create and confirm a new password.

Tip: If you don’t have access to your recovery phone or email, Google may ask other questions (like when you created the account) to confirm it’s you. The more recovery options you’ve added in advance, the easier this process will be.

Why You Should Change Your Gmail Password

A Gmail password isn’t just about checking email — it protects everything tied to your Google account. Updating it regularly helps:

  • Block unauthorized access if your details were exposed in a data breach.
  • Keep files, contacts, and apps safe, since many third-party services connect to Gmail.
  • Maintain control if you notice suspicious logins from unknown devices.

Even if nothing unusual has happened, updating your password once in a while is a good digital habit.

Extra Security Tips

Changing your password is only part of keeping your Gmail secure. For stronger protection:

  • Turn on 2-Step Verification: This requires a code from your phone in addition to your password.
  • Don’t reuse old passwords: Always create something unique.
  • Use a password manager: These tools generate and store complex passwords for you.
  • Check your account activity: Google shows a list of recent devices that have signed in — review it regularly.

SEO Specialists

How Long Does SEO Take? The Answer Most Agencies Won’t Tell You

Let’s address the elephant in the room first: If you’re looking for an agency that promises page-one rankings in 30 days, you’re shopping for magic beans.

But if you’re searching for SEO that brings customers, not just rankings—the kind that transforms your business rather than just impressing you with traffic graphs—then we need to have a different conversation about timelines.

The Answer Nobody Wants to Hear (But Everyone Needs To)

SEO takes 6-12 months to show significant results.

There. We said it.

No dancing around it, no “it depends” without explanation. No vague promises.

Six to twelve months for real, sustainable results that impact your bottom line.

But here’s what most agencies won’t tell you: those claiming faster results are either lying, taking dangerous shortcuts, or measuring the wrong things.

Why 6-12 Months Isn’t Random—It’s Reality

Google isn’t your local newspaper where you can buy an ad today and see it tomorrow. It’s more like earning trust in a small town. You can’t just show up and expect everyone to recommend your business. You need to:

  • Prove you’re legitimate (technical SEO foundation)
  • Show you’re helpful (quality content)
  • Earn recommendations (backlinks)
  • Build a reputation (consistency over time)

This process can’t be rushed any more than you can rush building trust with real people.

The Investment Perspective Most Businesses Miss

SEO isn’t a cost—it’s an asset purchase.

Paid ads? That’s rent. Stop paying, lose everything. SEO? That’s ownership. Build it once, benefit forever.

Every month you delay starting SEO, you’re choosing to rent instead of own. Six months from now, you’ll either be harvesting organic leads or still paying for every click.

What Actually Determines Your SEO Timeline

Let’s cut through the BS. Your timeline depends on five factors:

1. Your Starting Point

  • New website? Add 3-6 months
  • Existing authority? Subtract 2-3 months
  • Previous penalties? Add 6+ months

2. Your Competition

  • Local business, low competition? 4-6 months
  • National e-commerce? 9-12 months
  • Competitive industry (law, insurance, real estate)? 12-18 months

3. Your Investment

  • DIY approach? 12-24 months (if ever)
  • Basic package? 9-12 months
  • Comprehensive strategy? 6-9 months

4. Your Industry

  • B2B services? 6-9 months
  • Local services? 4-8 months
  • E-commerce? 8-12 months
  • YMYL (Your Money Your Life) sectors? 12-18 months

5. Your Content Velocity

  • 1 piece per month? 12+ months
  • Weekly publishing? 6-9 months
  • Daily updates? 4-6 months (with quality)

The Question You Should Really Be Asking

“How long does SEO take?” is the wrong question.

The right question is: “How much is it costing me every month I’m not on page one?”

Calculate it:

  • Average customer value: $____
  • Customers lost to competitors monthly: ____
  • Monthly loss: $_____
  • Annual loss: $_____

Now ask yourself: Can you afford to wait another 6-12 months to start?

Why Good SEO Can’t Be Rushed (And Why That’s Actually Good News)

Here’s the plot twist: The fact that SEO takes 6-12 months is your competitive advantage.

Why? Because your impatient competitors will:

  • Give up after 3 months
  • Chase shortcuts that backfire
  • Waste money on paid ads forever
  • Keep starting over with new agencies

While they’re agency-hopping, you’re building an asset that compounds monthly. After 12 months, you’re not just ahead—you’re accelerating while they’re still at the starting line.

The Red Flags That Scream “Run”

Any agency that promises:

  • “Results in 30 days or less”
  • “Guaranteed #1 rankings”
  • “Our special relationship with Google”
  • “Instant domain authority boost”

These aren’t just optimistic—they’re either incompetent or dishonest. Either way, you’ll end up starting over in 6 months, further behind than when you started.

What Realistic SEO Progress Actually Looks Like

First 90 Days: Foundation fixes, early indicators, technical improvements 3-6 Months: Visible movement, long-tail rankings, traffic growth begins 6-9 Months: Significant rankings improvement, consistent lead flow 9-12 Months: Competitive keywords ranking, SEO becomes primary lead source 12+ Months: Compound growth, dominance in your space, reduced dependency on paid channels

This isn’t slow—it’s sustainable. It’s the difference between a sugar rush and actual nutrition.

Your Next Move (If You’re Serious About Growth)

Stop asking “How long does SEO take?”

Start asking:

  • “What can we accomplish in 6 months?”
  • “What’s the 12-month potential?”
  • “How do we start building this asset today?”

Because while you’re reading this, your competitors aren’t waiting. They’re six months into their SEO journey, taking your customers, building their fortress.

The timeline is 6-12 months whether you start today or next year. The only difference? Starting next year means you’re 12 months behind instead of 6 months away.

Ready for SEO that actually brings customers? We’ve been doing this for over 20 years—long enough to know that good SEO takes 6-12 months, and that’s exactly why it works. Get your free website audit and let’s map out your timeline to market dominance.

Google meet Registration

How to Register on Google Chat: A Simple Walkthrough

If you’ve ever wanted a messaging app that just works with everything else you’re already using, Google Chat might be exactly what you’re looking for. It’s part of Google’s workspace tools (the same family as Gmail, Docs, Drive, and Meet), which means it’s designed to make teamwork and personal communication easier.

But before you can start sending messages, creating spaces, or sharing files, you’ll need to get registered. Don’t worry — this process is about as straightforward as it gets, especially if you already have a Google account.

Do You Already Have a Google Account?

Here’s the first thing to know: Google Chat doesn’t have a separate sign-up form. If you’ve ever used Gmail, YouTube, or even Google Drive, then you already have what you need.

For those who don’t have one yet, creating a Google account is free and takes just a couple of minutes. You’ll be asked for basic details like your name, birthday, and email preferences. Once that’s done, you’re officially ready to access Google Chat.

How to Get Started With Google Chat

There are two main ways to register and log in:

  1. On Desktop:
  1. Once inside, you’ll see a clean interface with options for direct messages, group chats (called “Spaces”), and integration with Meet.
  2. On Mobile (Android or iOS):
    • Download the Google Chat app from the Play Store or App Store.
    • Open it and log in with your Google account.
    • You’re ready to chat on the go, sync across devices, and receive instant notifications.

Why Bother With Google Chat?

You might be thinking: “Why use this when I already have WhatsApp, Messenger, or Slack?” Good question.

The biggest advantage is integration. Google Chat works seamlessly with the rest of Google’s apps. That means you can:

  • Share a Google Drive file straight into a chat.
  • Create a task list inside a group Space.
  • Launch a Google Meet call directly from your conversation.
  • Search across messages and files just like you search in Gmail.

It’s less about being a stand-alone app and more about being part of a bigger productivity system.

Extra Tips for a Smooth Start

  • Enable notifications wisely: You don’t want your phone buzzing 24/7. Adjust settings so you only get alerts for important conversations.
  • Use Spaces for projects: If you’re collaborating on work or school tasks, Spaces keep everything organized — messages, files, and tasks all in one place.
  • Bookmark it: On desktop, pin Chat in your browser tabs or keep it open in Gmail so you don’t forget to check messages.

Registering on Google Chat isn’t really about creating something new — it’s about unlocking a feature that’s already part of your Google account. Once you’re signed in, you can use it to stay connected with friends, collaborate on group projects, or manage work tasks, all without juggling multiple apps.

If you’re already living in the Google ecosystem, Chat is worth exploring. It keeps your communication and productivity tools under one roof, which saves you time and makes life a bit easier.

Chatgpt Register

How to Register on ChatGPT: Everything You Need to Know

ChatGPT has quickly become one of the most popular AI platforms in the world. From students looking for help with assignments, to professionals drafting reports, to everyday users asking quick questions — millions rely on it daily. But before you can explore everything it offers, you’ll need to create an account.

The good news is that registering on ChatGPT is simple, free, and takes only a few minutes. Whether you’re signing up on desktop or mobile, the process is almost the same. Here’s a complete guide that walks you through the steps, with tips to avoid common issues.

Why Do You Need to Register?

You might be wondering: can’t I just try ChatGPT without an account? The short answer is no. OpenAI requires registration for several reasons:

  • Personalization – Your account keeps track of your chats and settings.
  • Security – Verification prevents spam and ensures real users only.
  • Access to features – Without an account, you can’t use free or paid tools.
  • Upgrades – Registration allows you to later switch to ChatGPT Plus if you want access to faster, more advanced models.

So, while it may feel like an extra step, registration actually improves your experience.

Step 1: Go to ChatGPT

Start by visiting chat.openai.com, in your browser. Alternatively, download the ChatGPT app from the App Store (iOS) or Google Play (Android).

On the homepage, you’ll see the “Sign up” button. Click or tap it to begin.

Step 2: Choose How to Sign Up

You’ll have a few options for creating an account:

  • Email address + password — traditional method, works on all devices.
  • Google account — quick, one-click sign-in.
  • Microsoft account — especially useful if you already use Outlook or Office.
  • Apple ID — convenient for iPhone and Mac users.

If you choose the email option, make sure your password is unique and strong — ideally a mix of letters, numbers, and symbols.

Step 3: Verify Your Details

After entering your basic info, you’ll be asked for your name, date of birth, and phone number. A text message with a verification code will be sent to confirm your account.

This step is required. Without verifying your phone number, you can’t complete registration.

Tips for a Smooth Registration

  • Double-check your email spelling before submitting.
  • If you don’t get a verification SMS, wait a few minutes before requesting a new code.
  • Keep your login method consistent (for example, always use Google or always use email) to avoid confusion later.
  • Bookmark chat.openai.com for quick access.

Frequently Asked Questions

Is ChatGPT registration free?
Yes. You can use the free plan without paying anything.

Can I sign up without a phone number?
No. Phone verification is required for all new accounts.

Can I use ChatGPT without downloading the app?
Absolutely. The web version works on any browser.

What’s the difference between free and Plus accounts?
The free version gives you access to core features, while ChatGPT Plus offers faster responses and priority access to the latest AI models.

Can I change my login method later?
Yes. You can link or unlink accounts in your settings, but it’s best to stick with one method from the start.

Airbnb Registration

How to Register on Airbnb: A Beginner’s Guide

Airbnb has become one of the most popular platforms for booking travel stays and unique experiences around the world. Whether you’re planning your next trip or thinking of hosting guests in your own home, the first step is creating an account. Registering on Airbnb is quick and free, and you can do it on both desktop and mobile in just a few minutes.

Getting Started

To begin, head over to Airbnb’s website or download the Airbnb app from the App Store (iOS) or Google Play (Android). Both options give you full access to the platform.

On the homepage, you’ll see a “Sign Up” button. Clicking this will open a registration form where you’ll be asked how you’d like to create your account.

Ways to Register on Airbnb

Airbnb gives you a few simple options for creating your account:

  • Using your email address → Enter your email, create a password, and continue filling out your details.
  • Using your phone number → Enter your number, confirm it with a code, and complete your profile.
  • Social logins → You can also sign up with your Google, Apple, or Facebook account if you want a faster setup.

Completing Your Profile

Once you’ve created the account, Airbnb will guide you through setting up your profile. This step is important because it helps build trust between guests and hosts. You’ll typically need to provide:

  • Your full name (as it appears on your government ID).
  • Date of birth.
  • A profile photo.
  • Payment details (if you plan to book a stay).

Airbnb may also ask you to verify your identity with a government-issued ID. This adds another layer of security and helps prevent fraud.

Tips for a Smooth Registration

While signing up is straightforward, here are a couple of quick tips to make the process even easier:

  • Use a real email or phone number so you don’t miss important notifications about bookings.
  • Add a friendly profile photo — people feel more comfortable booking with verified, authentic-looking users.
  • Fill out your bio briefly if you plan to host. Guests appreciate knowing a little about who you are.

After You Register

Once your account is active, you can start exploring Airbnb. As a guest, you’ll be able to search for stays, filter by location, price, and amenities, and make bookings directly from the app or website. If you’re interested in hosting, you can set up your listing under the “Become a Host” section.

Common Questions

Do I need to pay to register on Airbnb?
No. Registration is free. You’ll only pay when you book a stay or if you’re a host, Airbnb takes a small service fee from bookings.

Can I use Airbnb without ID verification?
For some listings, yes — but many hosts require identity verification for security reasons.

Is Airbnb safe to use?
Yes. Airbnb uses secure payment systems and an identity verification process to help keep both guests and hosts safe.

Chatgpt change password

How to Change Your Password on ChatGPT

Protecting your ChatGPT account is essential for safeguarding conversation history and personal data. Whether you’ve forgotten your password or simply want to strengthen security, this comprehensive guide walks you through resetting your ChatGPT password in minutes.

Important Note: Unlike most platforms, ChatGPT doesn’t offer a traditional password change option in settings. Instead, you’ll always use the “forgot password” process, even when you remember your current password.

Why Update Your ChatGPT Password?

Several compelling reasons make regular password updates crucial:

  • Security breaches — Unfamiliar prompts or suspicious login notifications demand immediate action
  • Regular maintenance — Furthermore, security experts recommend updating passwords every 3-6 months
  • Compromised credentials — Additionally, if you’ve reused the password elsewhere and that service was breached, updating becomes critical
  • Peace of mind — Ultimately, protecting your AI conversations and professional information ensures long-term security

Step-by-Step Password Reset Process

Desktop Instructions

Step 1: Log Out First, locate your profile icon in the bottom-left corner, then select “Log out” from the menu.

Step 2: Access Login Page Next, navigate to chatgpt.com and click the “Log in” button to proceed.

Step 3: Start Reset Process Now, here’s where it gets interesting:

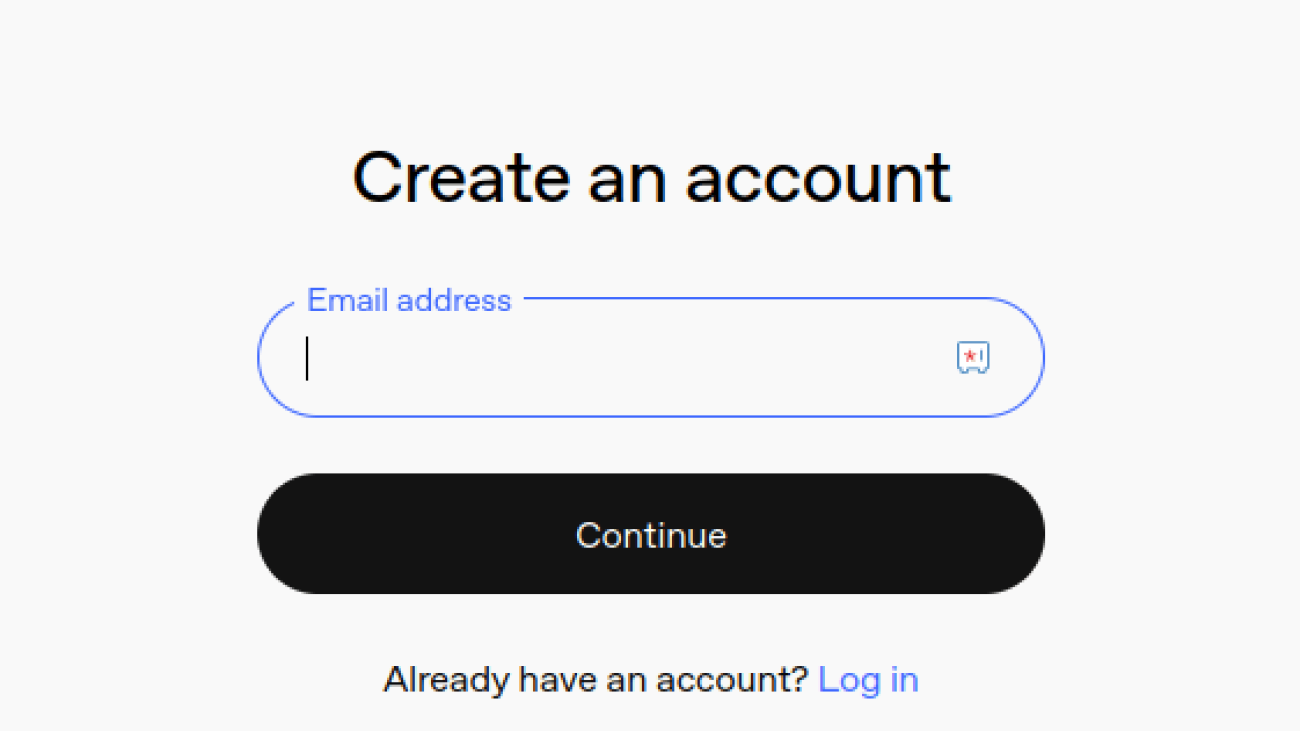
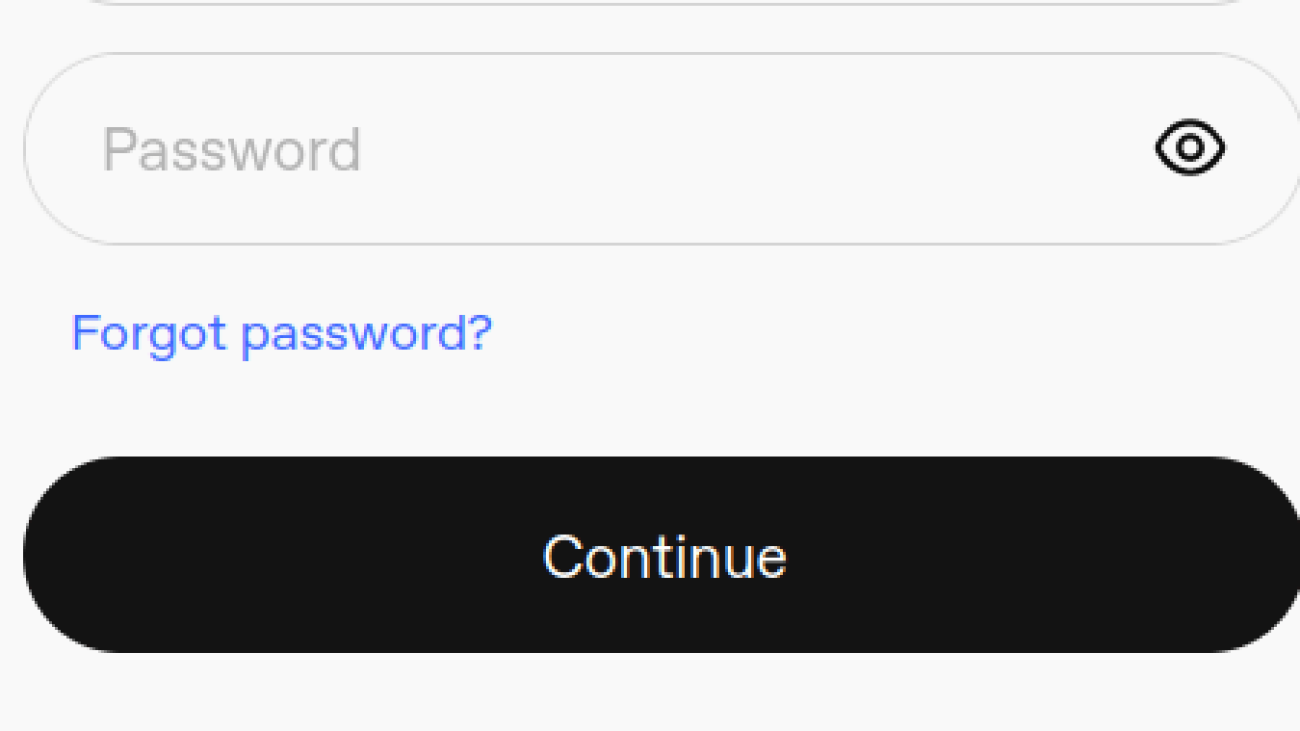
  • Begin by entering your email address
  • Subsequently, click “Continue”
  • Most importantly, select “Forgot password?” (even if you remember it perfectly)

Step 4: Request Reset Email At this point, you’ll need to:

  • Re-enter your email for verification
  • Then click the green “Continue” button
  • Immediately check your inbox for the reset email

Step 5: Complete Reset Once the email arrives:

  • First, open the message from OpenAI titled “Change Password for ChatGPT”
  • Following that, click the reset link provided
  • Create and confirm your new password carefully
  • Finally, click “Reset password” to save changes

Step 6: Verify Access To ensure everything worked correctly, log back in with your new credentials.

Mobile App Instructions

Similarly, the mobile process follows nearly identical steps:

  • Initially, open the ChatGPT app and log out if needed
  • After that, tap “Log in” and enter your email
  • Subsequently, select “Forgot password?”
  • Then follow the email instructions carefully
  • Ultimately, log in using your new password

Troubleshooting Common Issues

Not Receiving Reset Email?

When the reset email doesn’t arrive, several solutions can help:

  • Initially, check spam and junk folders thoroughly
  • Meanwhile, verify you’re using the correct registered email
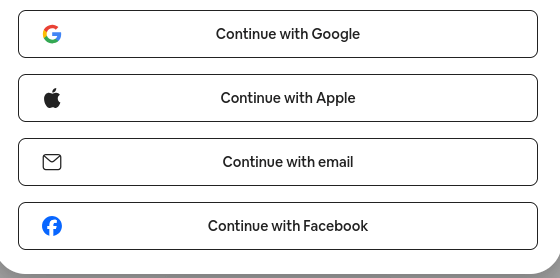
  • However, if you signed up with Google/Microsoft/Apple, use that login method instead
  • Additionally, try clearing your browser cache before retrying
  • Finally, allow 5-10 minutes for potential server delays

Using Google/Microsoft/Apple Sign-in?

For those who authenticated with third-party providers, the situation differs:

  • Essentially, you don’t have a ChatGPT-specific password
  • Consequently, your security depends entirely on that provider’s account
  • Therefore, update the password through Google/Microsoft/Apple instead
  • Moreover, consider enabling two-factor authentication on that primary account

Can’t Change Email Address?

Unfortunately, OpenAI doesn’t allow email changes. Nevertheless, to use a different email:

  • Initially, create a new ChatGPT account
  • However, remember that conversation history cannot be transferred
  • Subsequently, delete the old account via OpenAI’s Privacy Request Portal

Creating a Strong ChatGPT Password

Effective password creation requires following these security best practices:

Essential Requirements:

  • Above all, use minimum 12-16 characters
  • Furthermore, mix uppercase, lowercase, numbers, and symbols effectively
  • Meanwhile, avoid personal information or dictionary words entirely
  • Most importantly, never reuse passwords from other accounts

Pro Tip: Consider using a passphrase like “Purple7!Elephant$Dance9” — it’s both memorable and secure.

Password Manager Recommendation: Tools like Bitwarden or 1Password not only generate complex passwords but also store them safely.

Additional Security Measures

Enable Two-Factor Authentication

Although currently limited, 2FA options are expanding:

  • First, check Settings → Security for available options
  • However, note that it’s currently limited to API/developer access
  • Nevertheless, use authenticator apps whenever possible

Monitor Your Account

Regular vigilance prevents security issues:

  • Periodically review conversation history for anomalies
  • Meanwhile, watch for unfamiliar prompts or responses
  • Immediately report suspicious activity when detected

Safe Usage Practices

Beyond passwords, smart habits enhance security:

  • Above all, never share credentials with others
  • Instead, use ChatGPT Teams for collaboration needs
  • Furthermore, remain mindful of sensitive information in chats

FAQs

How often should password updates occur? Ideally, every 3-6 months ensures optimal security.

Is email access required for password changes? Yes, email verification remains mandatory. However, if you’ve lost email access, contact OpenAI support immediately.

Does resetting log me out everywhere? Indeed, you’ll need to sign in again across all devices.

What happens if someone else changed my password? In this case, contact OpenAI support immediately through their help center.

Is reusing my old password possible? While technically feasible, doing so completely defeats the security purpose. Therefore, always create new, unique passwords.

Chatgpt delete chat

How to Delete All Chats on ChatGPT

If you use ChatGPT regularly, your chat history can pile up quickly. Whether you want a fresh start, more privacy, or simply less clutter, deleting your chats is easy. In this guide, you’ll learn exactly how to delete all your conversations on ChatGPT in just a few clicks.

Why Delete Your ChatGPT Chats?

According to marketing experts like Neil Patel and Ann Handley, clarity and simplicity matter most when it comes to online guides. So before we jump into the steps, here’s why people usually delete their ChatGPT history:

  • Privacy protection → Old conversations might include personal or business details you don’t want stored.
  • Decluttering your account → A long list of chats can be distracting and harder to manage.
  • A fresh start → Sometimes you just want to clear everything and begin again with new conversations.
  • Data management → Some users prefer to control what data is stored, especially when using AI tools regularly.

How to Delete All Chats on ChatGPT (Desktop Version)

If you’re using ChatGPT in your web browser, follow these steps:

  • Log in to your ChatGPT account.
  • On the left sidebar, scroll down to the bottom click on your profile and click Settings (gear icon).
  • In the menu that appears, click on Data controls.
  • Look for the option labeled Delete All Chats.
  • Click it, then confirm when asked to proceed.

Once confirmed, all your past conversations will disappear immediately.


How to Delete All Chats on ChatGPT (Mobile App

If you prefer the ChatGPT mobile app (available on iOS and Android), the process is just as easy:

  • Open the ChatGPT app and sign in if necessary.
  • Tap the menu icon (☰) in the top-left corner.
  • Click on your profile name.
  • Find the Data controls option and click on it.
  • Select Delete All Chats.
  • Confirm the action, and your history will be erased.

This removes your chats from all devices linked to your account — meaning if you delete them on mobile, they’ll also be gone from desktop.

What Happens When You Delete All Chats?

Before you clear your history, it’s good to know what happens behind the scenes:

  • The deletion is permanent → Once removed, your chats cannot be recovered.
  • Export your history first → If you want to save your old conversations, go to Settings → Data Controls → Export Data. You’ll receive a file with your chat history by email.
  • It doesn’t affect your account → Deleting chats does not delete your account or subscription. It only clears the list of conversations.
  • Your preferences remain → Settings like themes, login info, or subscription details will stay the same.

Alternatives to Deleting All Chats

If you don’t want to remove everything, you can:

  • Delete individual chats → On desktop, hover over a conversation in the sidebar and click the trash icon. On mobile, swipe left on the chat and tap Delete.
  • Turn off chat history → Go to Settings → Data Controls → Chat History & Training. Turning this off means new conversations won’t be saved.

This way, you can manage your history without wiping everything at once.

FAQs

Can I recover deleted ChatGPT chats?
No. Once you clear your chats, they’re permanently deleted. If you want to keep them, use the Export Data option before deleting.

Does deleting chats improve performance?
Not really. Deleting chats won’t make the app faster, but it does help with organization and privacy.

Can I delete chats without affecting my subscription?
Yes. Whether you’re on the free plan or ChatGPT Plus, deleting chats only removes conversations, not your account or billing details.

Can I delete chats from just one device?
No. When you delete chats, they disappear from all devices linked to your account.

Is there an option to auto-delete chats?
Currently, no. You’ll need to manually delete them or turn off chat history to prevent future saving.

Monetize on Tiktok

How to Register on TikTok to Get Paid

So you’ve heard people are making money on TikTok through something called the Creator Rewards Program, but nobody actually explains how to sign up for it. Let’s fix that.

Here’s exactly how to register, what you need, and what happens next.

First, What Is the Creator Rewards Program?

Quick background: TikTok killed the old Creator Fund in 2024 and replaced it with the Creator Rewards Program. It pays way better (like 10-20x more), but the requirements are higher.

You get paid based on views of videos over 60 seconds. The rate varies from $0.40 to $8.00 per 1,000 views depending on engagement and originality.

Can You Even Apply? Check These Requirements First

Before you waste time setting up, make sure you qualify:

The non-negotiables:

  • 18 years or older
  • 10,000 authentic followers (bought followers don’t count)
  • 100,000 genuine video views in the last 30 days
  • Videos must be over 60 seconds
  • Account must be 30+ days old
  • Living in an eligible country

Eligible countries (as of 2025): US, UK, France, Germany, Japan, South Korea, and Brazil. That’s it. If you’re not in these countries, you can’t join the program yet.

Don’t have 10,000 followers yet? Keep reading anyway—you’ll want your account set up correctly from day one.

Setting Up Your Account the Right Way

Step 1: Create a Personal Account (Not Business)

This is crucial. Business accounts are excluded from the Creator Rewards Program.

  • Download TikTok
  • Sign up with your email (you’ll need access for verification)
  • Choose “Personal Account” when asked
  • Enter your real birthdate (they verify you’re 18+)

Step 2: Verify Your Account

Before you can register for monetization:

  • Go to Settings → Account → Verification
  • Submit your phone number
  • Complete email verification
  • This prevents issues later when applying

Step 3: Set Your Account to Public

Private accounts can’t monetize. Period.

  • Settings → Privacy → Private Account (toggle OFF)

The Actual Registration Process

Once you meet all requirements, here’s how to apply:

Step 1: Find the Application

  • Tap your profile icon
  • Hit the menu (three lines) in the top right
  • Go to “Creator tools”
  • Select “Creator Rewards Program”

Not seeing it? Either you don’t meet requirements yet, or you’re not in an eligible country.

Step 2: Complete the Application

You’ll need to provide:

  • Legal name (must match tax documents)
  • Address
  • Tax identification number (SSN in US, similar in other countries)
  • Date of birth (again)
  • Phone number verification

Step 3: Tax Information

This is where people get stuck. You MUST complete tax forms:

  • US residents: W-9 form
  • Non-US residents in eligible countries: W-8BEN form
  • Everything must match exactly—any mismatch = rejection

Step 4: Payment Method Setup

Choose how you want to get paid:

  • PayPal (most common, available everywhere)
  • Direct deposit (US only)
  • Payment provider options vary by country

Minimum payout is $10. Payments process monthly.

Step 5: Wait for Approval

Takes 24-48 hours usually. You’ll get a notification in the app.

If rejected, it’s usually because:

  • Fake followers detected
  • Previous community guideline violations
  • Tax info doesn’t match
  • Account age or view requirements not actually met

What Happens After You’re Approved?

Your dashboard shows:

  • Estimated earnings (updates daily)
  • View counts for eligible videos
  • Performance metrics
  • Payment history

Important: Only videos created AFTER approval count for payment. Your old viral videos don’t earn retroactively.

Common Problems and Fixes

“I don’t see the Creator Rewards option”

  • Double-check you have 10,000 followers
  • Verify your 30-day view count (Settings → Analytics)
  • Make sure your account is 30+ days old
  • Confirm you’re in an eligible country

“My application was rejected”

  • Review your tax information for typos
  • Check if any videos violated guidelines
  • Ensure followers are authentic
  • Wait 30 days and reapply

“I’m approved but not earning”

  • Remember: only NEW videos over 60 seconds count
  • Check if your videos are being marked as “not original”
  • Low-quality or repetitive content earns less
  • Engagement matters more than just views

Getting into the program is just step one. Most creators in the program earn $20-200 monthly, not thousands. The people making serious money combine this with other income streams.

But hey, getting paid anything for videos you’re already making? Not a bad deal.

The program isn’t going anywhere, and requirements might actually get easier over time. Set yourself up right from the beginning, and you’ll be ready when you hit those numbers.